Hyper-V on Windows requires nested virtualization, since it runs linux in a virtual machine. You need Hyper-V to run docker. Windows 10 does not allow virtualization when it is run in kvm. If you open the task manager, it does not even show “Virtualization: Not available”.
The trick is to make Windows 10 think it is running on real hardware, with virtualization enabled. So you need hypervisor off but vmx on; on the qemu command line this would be –cpu -hypervisor,+vmx.
First, download a time-limited Windows 10 VM from Microsoft. The VirtualBox and vmware downloads contain a .vmdk file, which can be converted to qcow2 using qemu-img. In this example the file downloaded was WinDev2009Eval.VMware.zip, this might be different for you.
1 | $ unzip WinDev2009Eval.VMware.zip WinDev2009Eval-disk1.vmdk |
Second, in Virtual Manager, create a new virtual machine. You have to select Windows 10 and the WinDev2009Eval-disk1.qcow2 as a disk image (not as an installer iso).
To make Hyper-V work, you have to edit the xml which describes the cpu in Virtual Manager. First you have to enable xml editting in Edit -> Preferences -> Enabled XML editting. Then your machine details, find the CPUs, go to xml and find the cpu element. This should read:
1 | <cpu mode="custom" match="exact" check="partial"> |
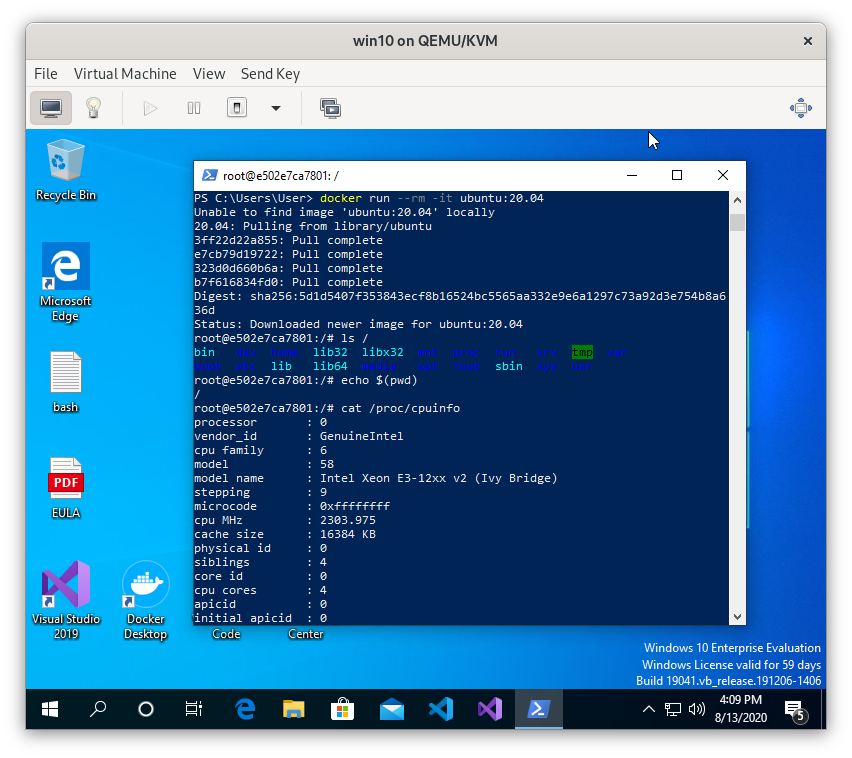
Press apply to make it work and start your machine. Now you can install Docker in Windows 10.
The hypervisor hack was inspired by a similar hack for vmware.